Showing posts with label Home Improvement. Show all posts
Sunday, January 12, 2014
New Carpet
With our new carpet finally installed upstairs, we can once again unpack - oh the joy! If we never move again I will be very happy.
The new carpet looks and feels great, even though we went with the cheapest pad available and Lowes' stock carpet. In our last house we bought a nice pad and higher-end carpet for the bedrooms, but I thought it was total overkill. It was so squishy and soft I could have slept right on the floor. But I don't sleep on the floor; I have a bed. I knew I'd be perfectly happy with the not-so-squishy pad this time (and I am). The old carpet was a little worn out so this stuff feels a million times better and best of all, it's cat-dander-free!
We priced carpet at two places and at both they tried to convince us to buy a nice pad with a water/stain resistant coating. I know that sounds like a good idea, but we never eat or drink (anything except water) in our bedrooms and we don't have pets, so why would we need stain resistant flooring??
I know I'll be happy when all our stuff is unpacked (again...), but I did really like the feel of the upstairs when all the rooms were empty - SO MUCH SPACE, so little clutter. It's amazing how much stuff you can jam into one washer and dryer closet (and two bathrooms). Now the fun of putting it all back begins!
Friday, January 10, 2014
New Flooring
One of the reasons we decided to buy this condo (as opposed to some other homes we viewed) was because we thought it was time for a break from home improvement projects. They can be
After five months of sniffles and approximately 5,647 boxes of tissues, I decided that unless I wanted to spend our entire tenure in this condo feeling yucky (and risking developing asthma), the carpet had to go.
Never really having been a fan of [off] white carpet in a dining area, I was all to happy to replace the living/dining area carpet with laminate flooring. In the bedrooms we're having new carpet put in that's almost identical to what was there (economy won-out over any exciting colors).
Before we left on our trip we ripped up the carpet and Ryan, his dad, and my brother installed the new laminate downstairs. With all that help it only took two days to install (the trim still isn't back in place, but that detail doesn't keep us from using most of our space). The new flooring is good stuff and I'm really happy with it.
In the few days since we got back from our trip I have felt so much better - I can already tell most of the cat dander is gone. I can now remember what it was like before I had to blow my nose every two minutes. We've also washed the walls in the bedrooms just for good measure and are having the heating vents cleaned next week. I look forward to many years of waking up able to breath through my nose!
We just have to get through this last furniture/stuff shuffle when the carpet installers get here at the unholy hour of 7:00 tomorrow morning (a Saturday!). Today I learned just how much stuff will fit into our washer/dryer closet:
Sunday, November 3, 2013
Workshop Construction
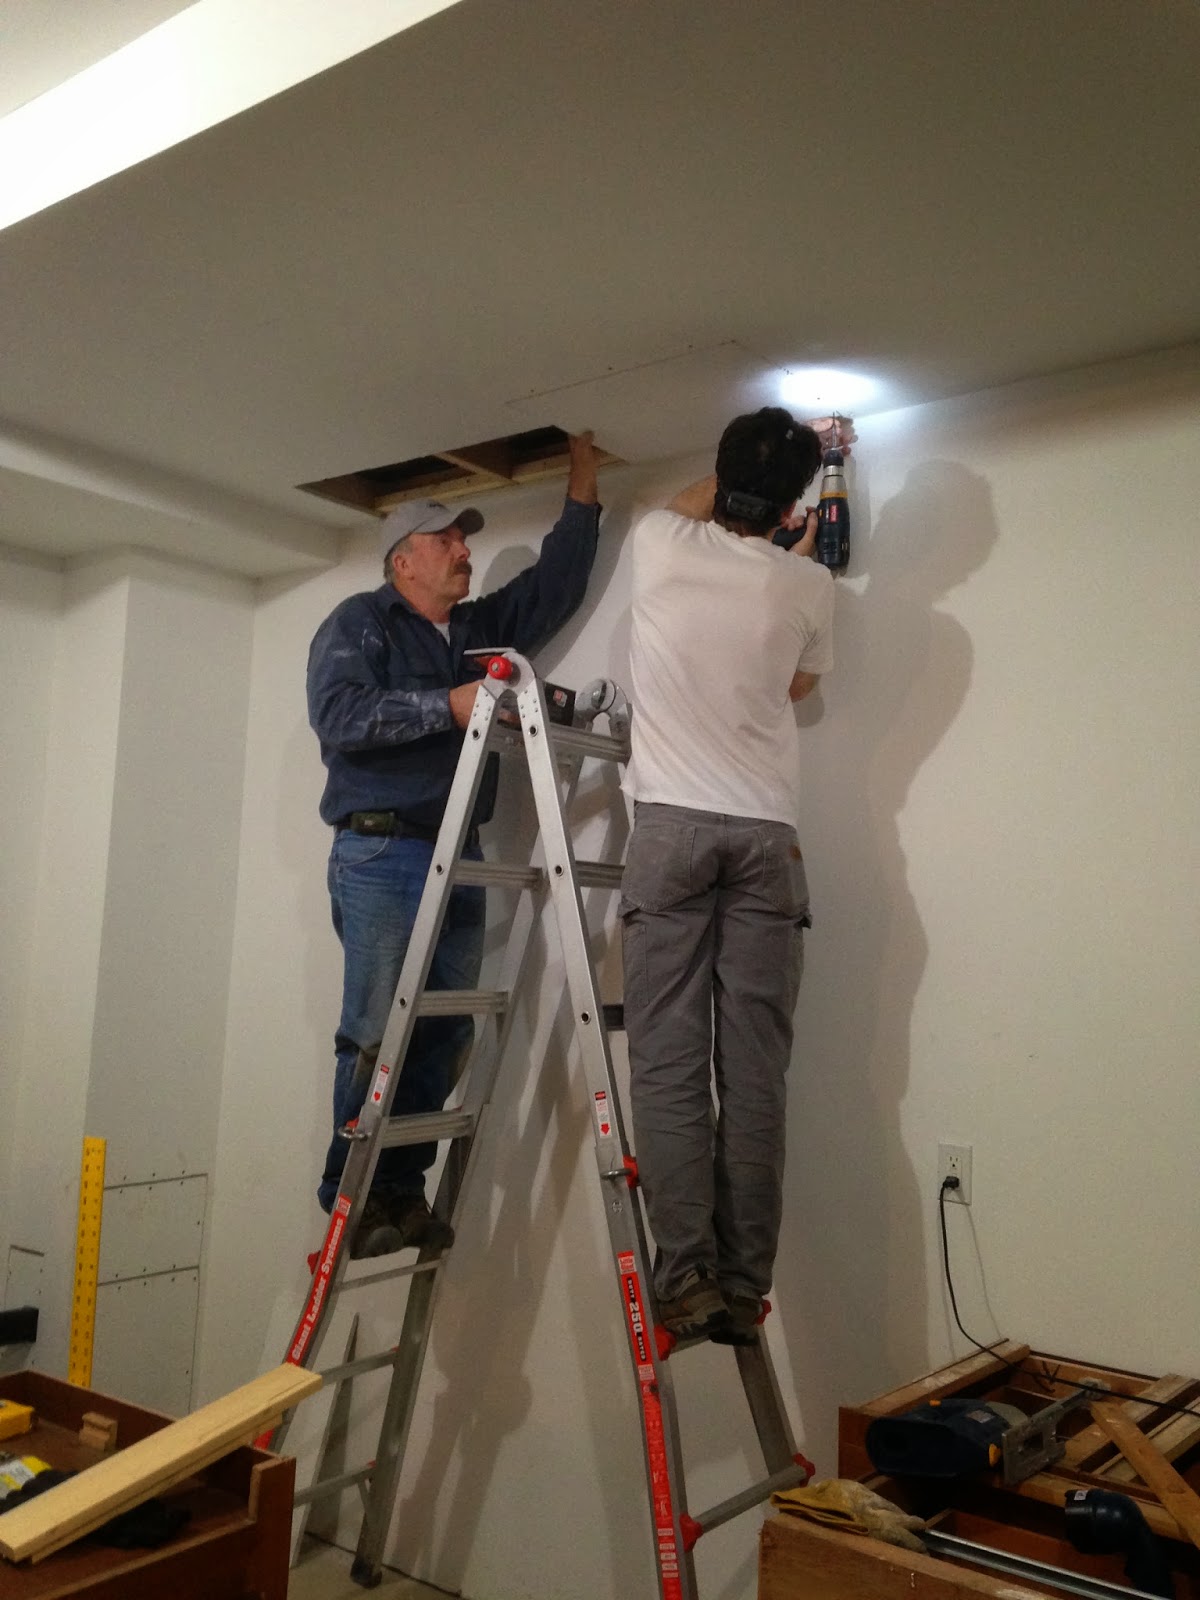
Since our garage is extra deep we are utilize the extra space by building a workshop area. I picked up an entire set of used kitchen cabinets on craigslist and am starting to get things laid out. Today with the help of my Dad we set up pluming for a utility sink. The plumbing part of the task was actually fairly easy once we had all the right parts, tools and access holes cut. I have never worked with PEX plumbing before so I had to buy a special crimping tool, but once we got going it went fast. My Dad proclaimed that working with PEX plumbing it was like cheating. I guess the day of sweating copper pipes and trying not to burn down your house in the process are over. Anyway, now I can patch up the sheet rock and get to work installing the cabinets. I'm really looking forward to having my tools organized again someday!
| Closing up the access holes in the sheet rock. |
| Hot and cold hookups, drain pipe and clean out ready for the utility sink |
Thursday, December 27, 2012
Pool Repair
| the hole cut in the concrete apron to expose the pool pluming |
| Re-plumed skimmer |
Today Dad and I were pool repairmen for a day. The pool at my grandma's house was installed in 1979 and started having leaking problems within a few years. Various attempts were made to stop the leaks but a concrete apron surrounding the pool prevented accessing the pluming. Today we changed that by renting a concrete saw with a diamond blade and cutting away the concrete slab. After a few minutes of digging in the sand we found a leaking pipe coupler. Further investigation revealed that the pipe had been cross threaded when it was installed four decades ago. With less than $20 of parts we re-plumbed the drain. We believe we may have stopped the leak but will be testing it thoroughly tomorrow. I think this project is a lesson in doing it right the first time. We are just glad it was a relatively easy fix.
Wednesday, April 18, 2012
Shed construction update
| New shed and old shed |
| Looking a bit more complete with the roof mostly finished |
Making the trusses for the gambrel roof was a bit of extra work. We did figure out that we could make the upper slope 15 degrees and the lower slope 45 degrees. This makes it much easier to cut all the boards and ensures that it all fits together well.
So here is a bit of fun math you probably had not thought about since a geometry class a long time ago. For every polygon the sum of the interior angles is defined by the following equation:
sum of the interior angles = (n-2)*180
Where n is the number of sides of the polygon.
For example a square has four 90deg interior angles. 90+90+90+90=360.
Or (4-2)*180=360.
In the case of our gambrel roof we have a five sided polygon where the the interior angles are 45, 150,150,150, and 45. The some of those angles is 540. But we also know this from our equation (5-2)*180=540. Isn't it nice when things can be so perfectly defined?
Monday, April 16, 2012
New Storage Shed
| Lumber for the shed |
| The corner of the property ready for new construction |
| End of Day 1: The same day Dad flew in from Alaska! |
| Assembling the first wall in the rain. |
| End of Day 2, we are ready for a roof. |
This week my Dad is visiting and we are building a storage shed in the back yard. Previously there was a little shack with no windows so the new shed will be quite an improvement. We decided on a 12 x 16 foot building because it fit very nicely into the back corner of the lot between the property line and a big tree.
We have been thinking about this project since we bought the house. It is nice to see it getting done. Over the last few weeds I sketched up drawings and order all the material so when my Dad arrived we could hit the ground running. My Dad brought all his pneumatic nail guns and nails so the project has been going very quickly. After less than a day and half we are ready to start working on the roof. I am hoping we will be done in another two days so we will have some to do some other non-project things.
So far the weather has been fairly cooperative. It did rain on us this morning while we were building the floor but after a couple hours it was dry and sunny again.
Wednesday, January 11, 2012
Crawlspace cleaning and insulating
After three years of putting it off, we finally hired a contractor to deal with the mess that was our crawlspace. In the 60 plus years that this house has sat here many projects and renovations have happened in the crawlspace. The original furnace was removed and new plumbing and electrical were installed. Each of these projects left behind a trail of debris. But the biggest problem in the crawlspace was the falling-down insulation and torn-up vapor barrier. The contractor removed all the old debris, insulation, vapor barrier, and installed a new barrier and new R-25 fiberglass batt insulation. This should make the house a little more appealing to the next buyer and in the mean time we will hopefully enjoy a warmer, dryer house.
After the contractor left I went and checked out the crawl space. There is still very little room to move around and you have to do a lot of shuffling and rolling over. But for the first time I could see around everywhere; I felt like I was really seeing the crawlspace for the first time.
| Old insulation falling down |
| New Insulation and vapor barrier |
Wednesday, January 4, 2012
Attic Insulation Installed
| 800 square feet of R-30 fiberglass insulation |
| Moving the insulation into the attic |
| Insulation installed |
A few weeks ago I wrote a blog post about making improvements to our attic. Molly and I started installing the R-30 fiberglass insulation on Sunday and today I finished the project. That attic looks much nicer and now has at least three times as much insulation as it did previously. I was also very happy to realize that I previously miss-calculated the cost of the insulation. It ended up costing significantly less than I had anticipated.
I have yet to notice much of a difference inside. However, I know the insulation is working because I used an inferred thermometer to measure the temperate above and below some of the insulation. It was a few degrees warmer under the insulation so we are successful trapping more heat in the house.
I'm glad we were able to complete this project ourselves. The next major house improvement involves the crawl space though and that's where I draw the line; I'm calling in the professionals. I am getting quotes later this week to have a new vapor barrier and insulation installed in the crawlspace. Molly and I agree that this is one of the last major projects that will make our house more energy efficient, benefiting us in the long-run or making the house more appealing if we were ever decide to sell it.
Sunday, December 18, 2011
Attic Improvements
| Wearing my full personal protective equipment (PPE) with the new opening to the attic in the background |
| This my attic before I insulate, the existing insulation is flush with the joist and about 6 inches deep. |
It has been about a year since I did any home improvement projects so I have been trying to decide what I wanted to work on. Most of my past projects have been things that are seen and appreciated such as paint, trim, and appliances. But this time I am taking on the unseen, the attic.
The Department of Energy recommends a minimum of R-38 insulation in the attic of existing homes with electric baseboard heat in Seattle. My attic currently has about 6 inches of loose fiberglass insulation which equals approximately R-15. My plan is to boost this number significantly by adding a full covering of R-30 fiberglass batts. It is unlikely that I will recover the cost in my electric bill anytime soon, but at least I can have the satisfaction of knowing that after 65 years this house will for the first time have sufficient insulation overhead. I have read that 60-70% of homes are under-insulated.
Once the new insulation is in place it will be very difficult to access the attic. Today I took the opportunity to complete some prep work. The first step was to add a new access door to the attic from the attic over the garage. This will allow me to bring in the new insulation without having to take it through the house. I also took time today to seal any gaps in the ceiling around wires and light fixtures, this will help ensure that I am not loosing any heat due to convection. Finally I took on the very nasty job of brushing down 65 years of cobwebs. while there might not be any benefit in doing this it sure makes the attic a more pleasant place to work by reducing the creepy factor. All I need to do now is install a missing gable vent and I will be ready to insulate.
The first photo I posted is me decked in full PPE with a full face respirator. This might seem like overkill, but I don't think so. The existing fiberglass insulation is some nasty stuff and when you start shuffling it around it can get airborne. I have learned from my medical training that you shouldn't take any chances when it comes to your lungs and the little alveoli that make it possible for us to breath. Unlike our skin and other parts of our bodies, alveoli are basically incapable of regenerating thus it is very important to protect the ones you have. I also taped my latex gloves to my tyvec suit. I was hot but I'm not itchy now.
Wednesday, October 27, 2010
Dishwasher! (and I don't meen my wife)
One of the few things that we missed from our old apartment was the dishwasher. The house didn't have one in fact it did not even have a spot for one, but I didn't let that stop me. The following photos show the sequence of taking out a cabinet and installing the dishwasher. We have used it just two times now and are very pleased. The first load of dishes included a muffin tin, which is perhaps our least favorite thing to wash. We were impressed that it came out completely clean. We went with a dishwasher that is quiet (50 dB) so it won't be annoying when we sitting in the living room after dinner.
--Ryan
--Ryan
| My favorite tool saves the day again (the sawsall) |
| Now just add plumbing and insert dishwasher! |
| First load of dishes |
Saturday, October 2, 2010
Boating and House Projects
| Chris and I on the north end of Lake Washington |
| The Sammamish River |
| Loading the boat at Magnusson Park |
Once Around the Lake
We didn’t actually make it all the way around Lake Washington but we did have a nice trip up the north end of the lake and up the Sammamish River all the way to Bothell. I had intended to borrow a skiff from work for some time now and figured I had better do it this weekend while the weather was still nice and Molly and I were both home. While it was mostly cloudy it was reasonably warm and not threatening to rain. We launched the 16ft skiff at Magnusson Park just a few miles from our house and toured along the shores gawking at the many nice lake-front houses. Our friend Chris (and my co-worker) joined us and enjoyed driving the skiff as much as I did. The 40 Hp motor was more than enough to send us skimming across the lake a good clip. Not much for wildlife on a trip in Lake Washington but we did see a few harons and some jumping fish. Hoping next time to head south and check out that end of the lake. The rumor is Bill Gates lives somewhere on the lake down there.
Kitchen Color
Our most recent house project was to liven up the kitchen a little by adding chair molding and some blue paint to the lower section of two of the walls in the Kitchen. As our dinning area is in the Kitchen this really helped break up the area and brighten it up. We are very happy with the color and the trim. The next kitchen project will be a dishwasher.
-Ryan
-Ryan
Monday, September 6, 2010
“I Like Projects”
When we bought our house I had more than one person tell me with a dreary voice that home ownership was a lot of work, to which I would reply something along the lines of “I like projects”. This is true, but more correctly I like working on home improvement projects that I come up with and plan in advance, as apposed to those which are thrust upon me: leaking roof, leaking toilet, leaking sink, ect… In fact I would even go as far as to say that I hate anything that leaks. Anyways, with all the time I have spent away from home this summer I was looking forward to a long holiday weekend at home. A chance to work a few projects I have had on the back burner. Of course the weekend actually started with one of those “thrust upon me” jobs fixing the brakes on the car, but that’s another story altogether.
We have done a lot to improve our house since buying it less than a year and half ago. For me the most fun has been converting the garage from a dark “not much more than an enclosed carport” into a nice workshop from which to base my projects out of. When we moved in the garage literally had one outlet and one light. Since then with the help of Molly, my Dad, and a few friends, I have wired, insulated, installed a window, sheet rocked, painted and basically done everything to make a living space a living space. I even brought in plumbing and added a utility sink. Cabinets and a counter top which are still under construction are the final touch. This weekend’s project in the shop was installing a lumber rack/storage space above the garage door. This allowed me to finally get extra lumber off the floor and organize my limited space a little better.
Once that was done I was ready to move inside to the next project. At Molly’s request the bathroom needed more light. The obvious solution was to change the bath fan out for a combination fan and light. Sounds simple enough, right? Not really. This job involved crawling around in the attic, cutting sheet rock, duct work, and quite a bit of wiring. Working on the garage last year I learned a lot about wiring, but new wiring is always much easier that working with old wiring. I had to find a way to add an additional switch for the light without making a mess of the walls and without disturbing the existing wiring. I new I had it made once I was able to pull a new wire through the wall from the switch up into the attic and using the old wiring and then pull the old wiring back into place using the new wire, successfully emplace a new wire that could be used for the new switch and light. Until that point I really didn’t know if this whole project was going to pan out or not. Actually, I really didn’t know it if was going to pan out until I turning the electricity back on and almost to my disbelief everything worked just the way I had planed. And I guess that’s part of what motivates me, every good project is chance to learn something, a chance to challenge yourself and hopefully in the end create a better living space. So bring it on … “I LIKE Projects”
We have done a lot to improve our house since buying it less than a year and half ago. For me the most fun has been converting the garage from a dark “not much more than an enclosed carport” into a nice workshop from which to base my projects out of. When we moved in the garage literally had one outlet and one light. Since then with the help of Molly, my Dad, and a few friends, I have wired, insulated, installed a window, sheet rocked, painted and basically done everything to make a living space a living space. I even brought in plumbing and added a utility sink. Cabinets and a counter top which are still under construction are the final touch. This weekend’s project in the shop was installing a lumber rack/storage space above the garage door. This allowed me to finally get extra lumber off the floor and organize my limited space a little better.
![]() |
| Garage with new lumber rack and also this weekend new shelf for parking my bike above Molly's bike |
![]() | ||||
| Old wiring of two switches using one 3 strand wire | . |
![]() |
| The Attic. My second least favorite place after the crawlspace. |
![]() |
| Success! Three switches where there use to be just two. |
![]() |
| The final project. Got to love that wide angle lens. Out bathroom looks huge! |
Subscribe to:
Posts (Atom)